Hot wax can burn skin and catch fire. Never heat wax directly over a burner, never leave melting wax unattended, and keep a metal lid and a fire extinguisher suitable for kitchen fires within reach. If wax catches fire, turn off the heat and cover the pot. Never use water on a wax fire.
What you need
- Container wax. A soy, coconut blend or container paraffin made for jars. Buy it with its data sheet, or note the temperatures listed by the maker.
- Wicks with metal tabs, sized for your jar and wax. The wick maker's chart is a starting point.
- Heat-safe jars with straight or gently sloped sides and no cracks or chips. Thin decorative glass can crack.
- A pouring pitcher and a saucepan for a double boiler.
- A thermometer and a kitchen scale.
- Fragrance oil made for candles (optional), and candle dye (optional).
- Wick stickers or a dab of hot glue, and a wick holder, clothespin or pair of chopsticks.
Keep candle tools for candles only. Wax and fragrance oil are hard to clean fully out of kitchen pans.
How much wax you need
Fill the jar with water to where you want the wax to stop, usually a little below the rim. Weigh the water. Solid wax is a little lighter than water for the same space, so use about 85 to 90 percent of that weight in wax. Dry the jar completely before you pour, because water and hot wax don't mix.
Step by step
- Prepare the jar. Clean and dry it. Stick the wick tab to the center of the bottom, and hold the wick straight with a wick holder or a clothespin resting across the rim.
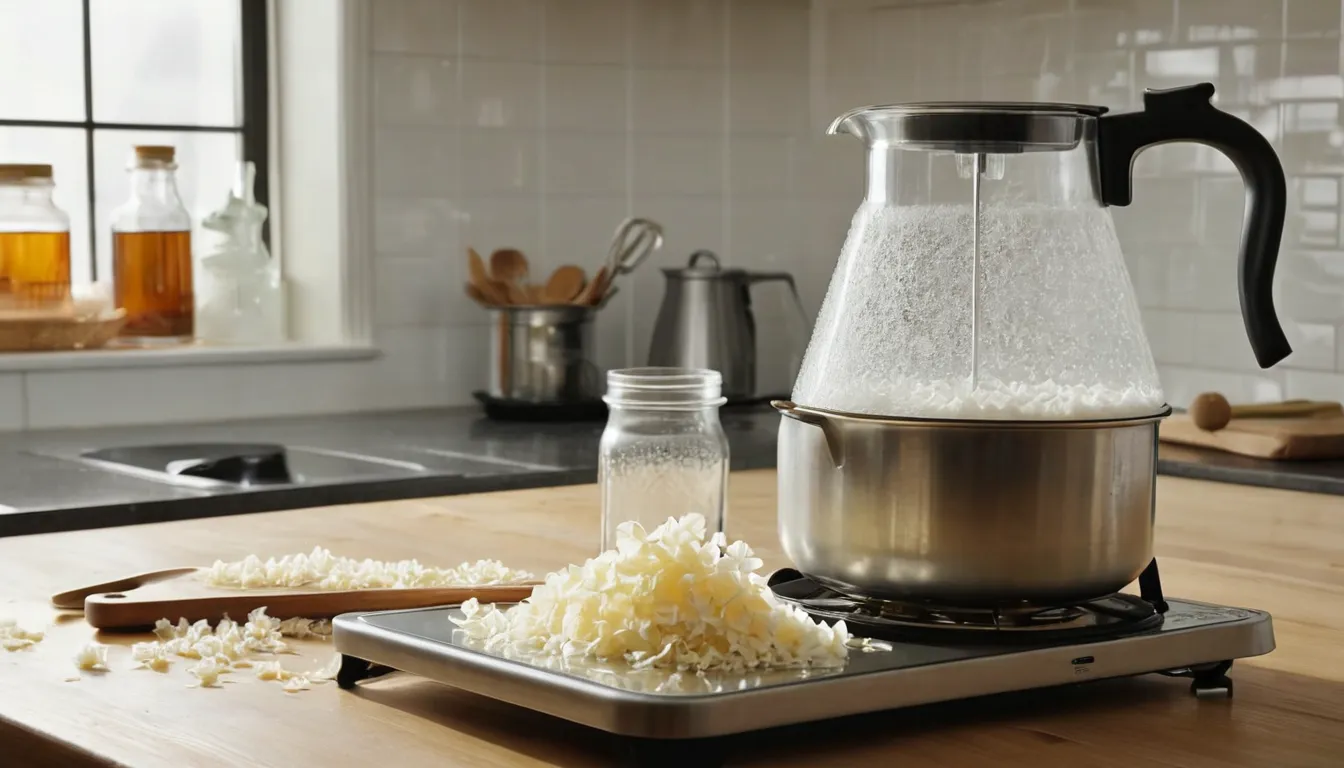
- Melt the wax gently. Put the wax in the pouring pitcher and stand it in a saucepan of simmering water. Stir now and then and watch the thermometer. Keep the temperature within the range on the wax maker's data sheet.
- Add fragrance at the right temperature. The data sheet lists the temperature for adding fragrance. A typical fragrance load is about 6 to 10 percent of the wax weight, but never go above the most the wax maker says the wax can hold. Weigh it, add it, and stir slowly for a minute or two so it blends evenly.
- Add dye if you like. Use dye made for candles. Crayons and other pigments can clog the wick.
- Pour. Let the wax cool to the pouring temperature on the data sheet, then pour slowly into the jar to avoid air bubbles. Keep a little wax back for a top-up.
- Let it set. Leave the candle on a level surface away from drafts. Cooling too fast can cause sinkholes or cracks. If a dip forms around the wick, warm the leftover wax and fill it in.
- Trim the wick to about 1/4 inch once the candle is fully hard.
Curing and the test burn
Many makers let scented candles cure for about one to two weeks before burning them, because the fragrance settles into the wax and the scent can improve. Check the wax maker's advice for your wax.
Then test-burn the first candle from any new combination of jar, wax, wick and fragrance before you make a batch or give any as gifts. Burn it in a safe spot for a few hours at a time, and watch for the signs on our troubleshooting page: a tall or smoky flame, a tunnel, or a jar that gets too hot. Change the wick size if needed and test again.
Full melt pool
A shallow pool runs edge to edge. This is the shape to aim for on the first burn and on every burn after it.
Tunneling
Short burns left a well down the middle and a wall of hard wax around it. The wall wastes wax and can drown the wick.
Wick too long
A tall, flickering flame gives off dark smoke and blackens the glass. Put it out, let it cool and trim the wick.
A note on essential oils
Essential oils are sold for candles, but they behave differently from fragrance oils made for the purpose. Many give a faint scent once burned, and some are harmful to pets. Check that any oil you use is labeled for candle making and follow the flash point and usage guidance from the supplier.
Other easy projects
Rolled beeswax candles are a good project for older children with an adult nearby, because nothing has to be melted: you warm a sheet of beeswax slightly with your hands and roll it around a wick. Melting down leftover candle wax to make a new one is possible, but the old wax may contain mixed fragrances and dyes, so the result can be unpredictable. Read more about each wax on the wax types page.